Photographing shoes can be tricky. After all, shooting a sneaker is one thing, but getting great images of a high-end Jimmy Choo stiletto is another.
When it comes to capturing a shoe in a frame, there are many ways to go about it. You may have to work with a model, but these days you’re more likely to shoot a standalone shoe.
For the purposes of this article, we’ll tackle the last option. We’ll give you a step-by-step process of how to achieve great results and some tips and tricks to remember for your shoe photography shoot.
How to photograph shoes
- Start with a proper setup
- Add in lighting
- Get the right angles
- Double-check your details
- Clean it up in Photoshop
But first, allow me to tell you a little story...
Not too long ago, I decided to treat myself to a new pair of brown boots.
I searched online until I found the perfect shoes. They weren’t too tall or too short, they had an interesting burnished copper zipper detail, and the heel height was perfect.
Sure, they were a little more than I had hoped to spend, but finding that perfect pair isn’t easy, so I bit the bullet and hit the Buy Now button.
I waited eagerly for my new perfect boots to arrive. I started mentally composing outfits around them — assuming they fit, they’d be exactly what I needed to kick off fall fashion.
The day they arrived, I ran out to greet the delivery guy as soon as he knocked.
I thanked him, took the box inside, and opened them immediately…
Only to find that my perfect brown boots weren’t brown at all… they were a muddy shade of blackish red. And the zipper detail that looked so cool in the photo? It was a bright, brassy tone instead.
I double checked my invoice and the label on the box to make sure I’d gotten the right item, and even pulled up the image on my phone again so I could compare.
Turns out they were the right boots after all. But they were not at all what I was expecting. I returned them and started my search all over again.
So what gives? How did I find the perfect pair online only to be so disappointed when they got to my house?
The answer, of course, is all in the photography.
1. Start with a proper set up
Don’t waste time trying other setup options — get a lightbox or a roll of white seamless paper with a high-quality, non-reflective surface. Anything else will cost you tons of time trying to make your shots look just right.
Build your lightbox or hang your seamless paper and set your subject shoes so they’ll be roughly in the middle of your shot. Don’t push them too far back in your scene or you’ll wind up with weird shadows that will be hard to delete after the fact.
2. Add lighting
Again, save yourself time and frustration by using tried-and-true lighting techniques. A lightbox will need one light on either side and one from the top. This will make your background nice and light and virtually eliminate shadows.
Shooting on seamless requires a similar approach, but you’ll have to play a little more to make those pesky shadows disappear. A three light setup works well also — one on either side and one lighting the background.
3. Get the right angles
When it comes to angles for shoe photography, more is more. You’d be surprised at how many people want to see the sole of the shoe or the detail on the back. The main angles to focus on are directly head on, top down, and three quarters, but once you’ve got those, rotate the shoe completely to make sure you’ve got lots of other angles, too.
Here are just a few potential angles for you to try:

Potential buyers might want to see the sole of the shoe, for example. They’ll also want to see the heel from the back, and the shape directly from the side.
If you’re having trouble keeping the shoe in place for some of the odd angles, try shooting from below through glass (for the sole shot) or holding it in place with some cleverly tied thread — you can always Photoshop it out later.
4. Double check your details
Sure, shoes are utilitarian items, but they’re also fashion. If something catches your eye, make sure you feature it prominently in your images. That could be something as obvious as a logo or something as simple as the grommet that the laces go into — if it’s interesting in any way, capture it.

The iconic Air Jordan logo and the unique texture of the shoe are captured well here, as you can clearly see the design details.
5. Clean it up in Photoshop
Even the most meticulously planned product photography can stand to have a little touch up. Maybe you’ll want to increase contrast to make the details pop, or maybe you noticed a tiny scratch on the shoe when you pull it up on screen. Either way, editing your shoe images is a necessary step. If you don’t feel like spending hours in Photoshop, you can hire your own virtual design studio.
Shoe photography best practices
A few things to remember when photographing shoes:
Cleanliness
This one should come as no surprise. Customers want things to be in pristine condition when they arrive, and a shoe that looks worn, scuffed, or dirty is a big turnoff. If your subject shoe has any imperfections at all, or even if they just need a quick polish, put in the extra effort to make sure it looks perfect.
All of Thousand Fell’s shoe product photos are crisp and clean, with stark white shoes on a clean white background with a hint of drop shadow for depth.

Clear the clutter
While we’re on that note, make sure your setup is clean and perfect, too. If you’re photographing more than one shoe style in one sitting, make sure the seamless background paper has no marks or wrinkles. You can use small props to get the shoe to stay in the positions you’re looking for, but if they show on camera at all, make sure they’re spotless, too.
Correct lighting and color
One of the most important things consumers look for when buying a pair of shoes is the color. Remember my magical brown boots that weren’t so brown after all? This was a case of too-warm lighting left uncorrected.
If that photographer had used neutral lighting (usually between 5000 and 6000 Kelvin) and if they’d made sure their white balance was spot on — either in camera or in post — the color would have been more accurate on the website.

(Not the actual boots in question, but you catch my drift…)
One more thing on that point - when you’re fixing your white balance in post-production, make sure that your monitor has been calibrated recently and that you’re exporting your files correctly. These two things can make even a good SOOC (straight out of camera) image go wrong.
Consistency
To make an accurate impression of what the shoe looks like, you must be certain you have consistency throughout your set. You want the color and lighting to be the same from photo to photo so your viewer doesn’t see the shoe as turquoise in one frame and green in another, for example. This will help make sure the textures come across accurately as well.
Check your lighting, your focal length, your aperture, and your relative frame to make sure that your images look uniform throughout.
Create proper shoe shapes
With boots or flimsier fabrics, you’ll need to create the same shape you’d see when a shoe is worn. Tall boots that are flopping over aren’t attractive to any buyer, for example.
For shoes with thinner fabrics or details like ribbons, you may have to get even more creative. You can give the shoe more structure with well-hidden florists’ wire. If some happens to peek out, you can always clean it up in post-production.

These laces add interest to the image.
For boots, try adding fullness with crumpled paper, or do what I do and cut a pool noodle just shorter than the shaft of the boot itself and stuff it inside.
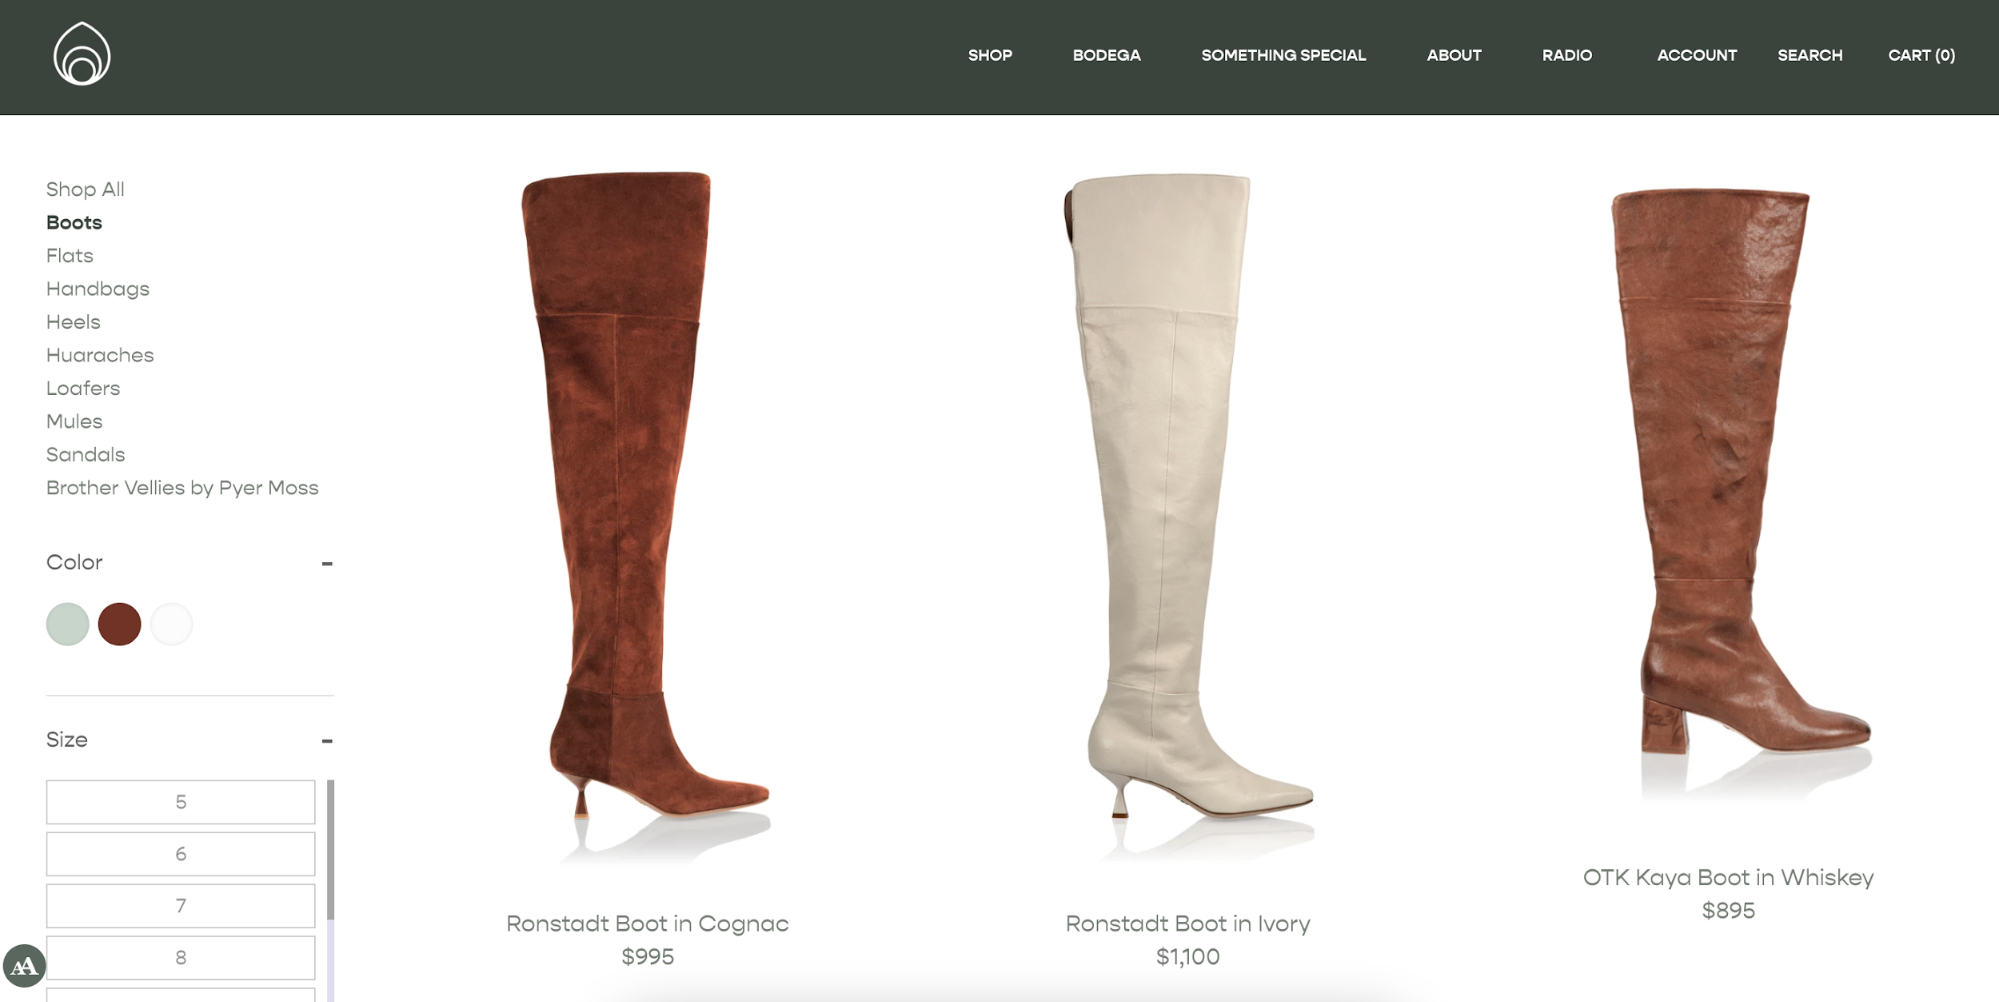
Brother Vellies props their boots up so shoppers can see their size and shape.
Consider the context
There are different ways to approach shoe photography, and your desired end product will vary depending on where and how the image will be used.
You have to understand what small details are important to shoe shoppers in your specific market and which they don’t really care about.
Someone who’s looking to purchase crib shoes for their baby will care about very different things than someone who wants diaphanous white sandals for their wedding day, for example.
If you want the shoe to pop off the screen and entice buyers, you must pay attention to the differences in shape and the sheen of the material.
Sometimes, you might add props and creative backgrounds. I’ve even seen lifestyle shoots for shoes — boots in a field, heels styled on a stylish rug, that sort of thing.

These laces add interest to the image.
Flat lay photography is another potential approach, one women’s footwear brand Kahmune uses on their homepage.

Image source
If you’re photographing for most ecommerce sites, though, your creative choices will be pretty limited. The industry standard is a white background with little to no shadow, and a greater depth of field so details are crystal clear front to back. Make sure you nail this technique and your eComm clients will be happy with the end results.

This is a more typical photo for ecommerce websites.
Moving forward with your shoe photography
With all of these tips, your next shoe shoot should be a breeze. Make the effort to create images that are clean, neat, and attractive, and you’ll have happy clients selling shoes in practically no time.